Products
This section will guide you through managing and configuring products and menus. The QUEUE POS menu structure consists of three main levels: Category > Product > Variant. Through this guide, you will learn how to set up these levels to create a menu interface that meets your needs.
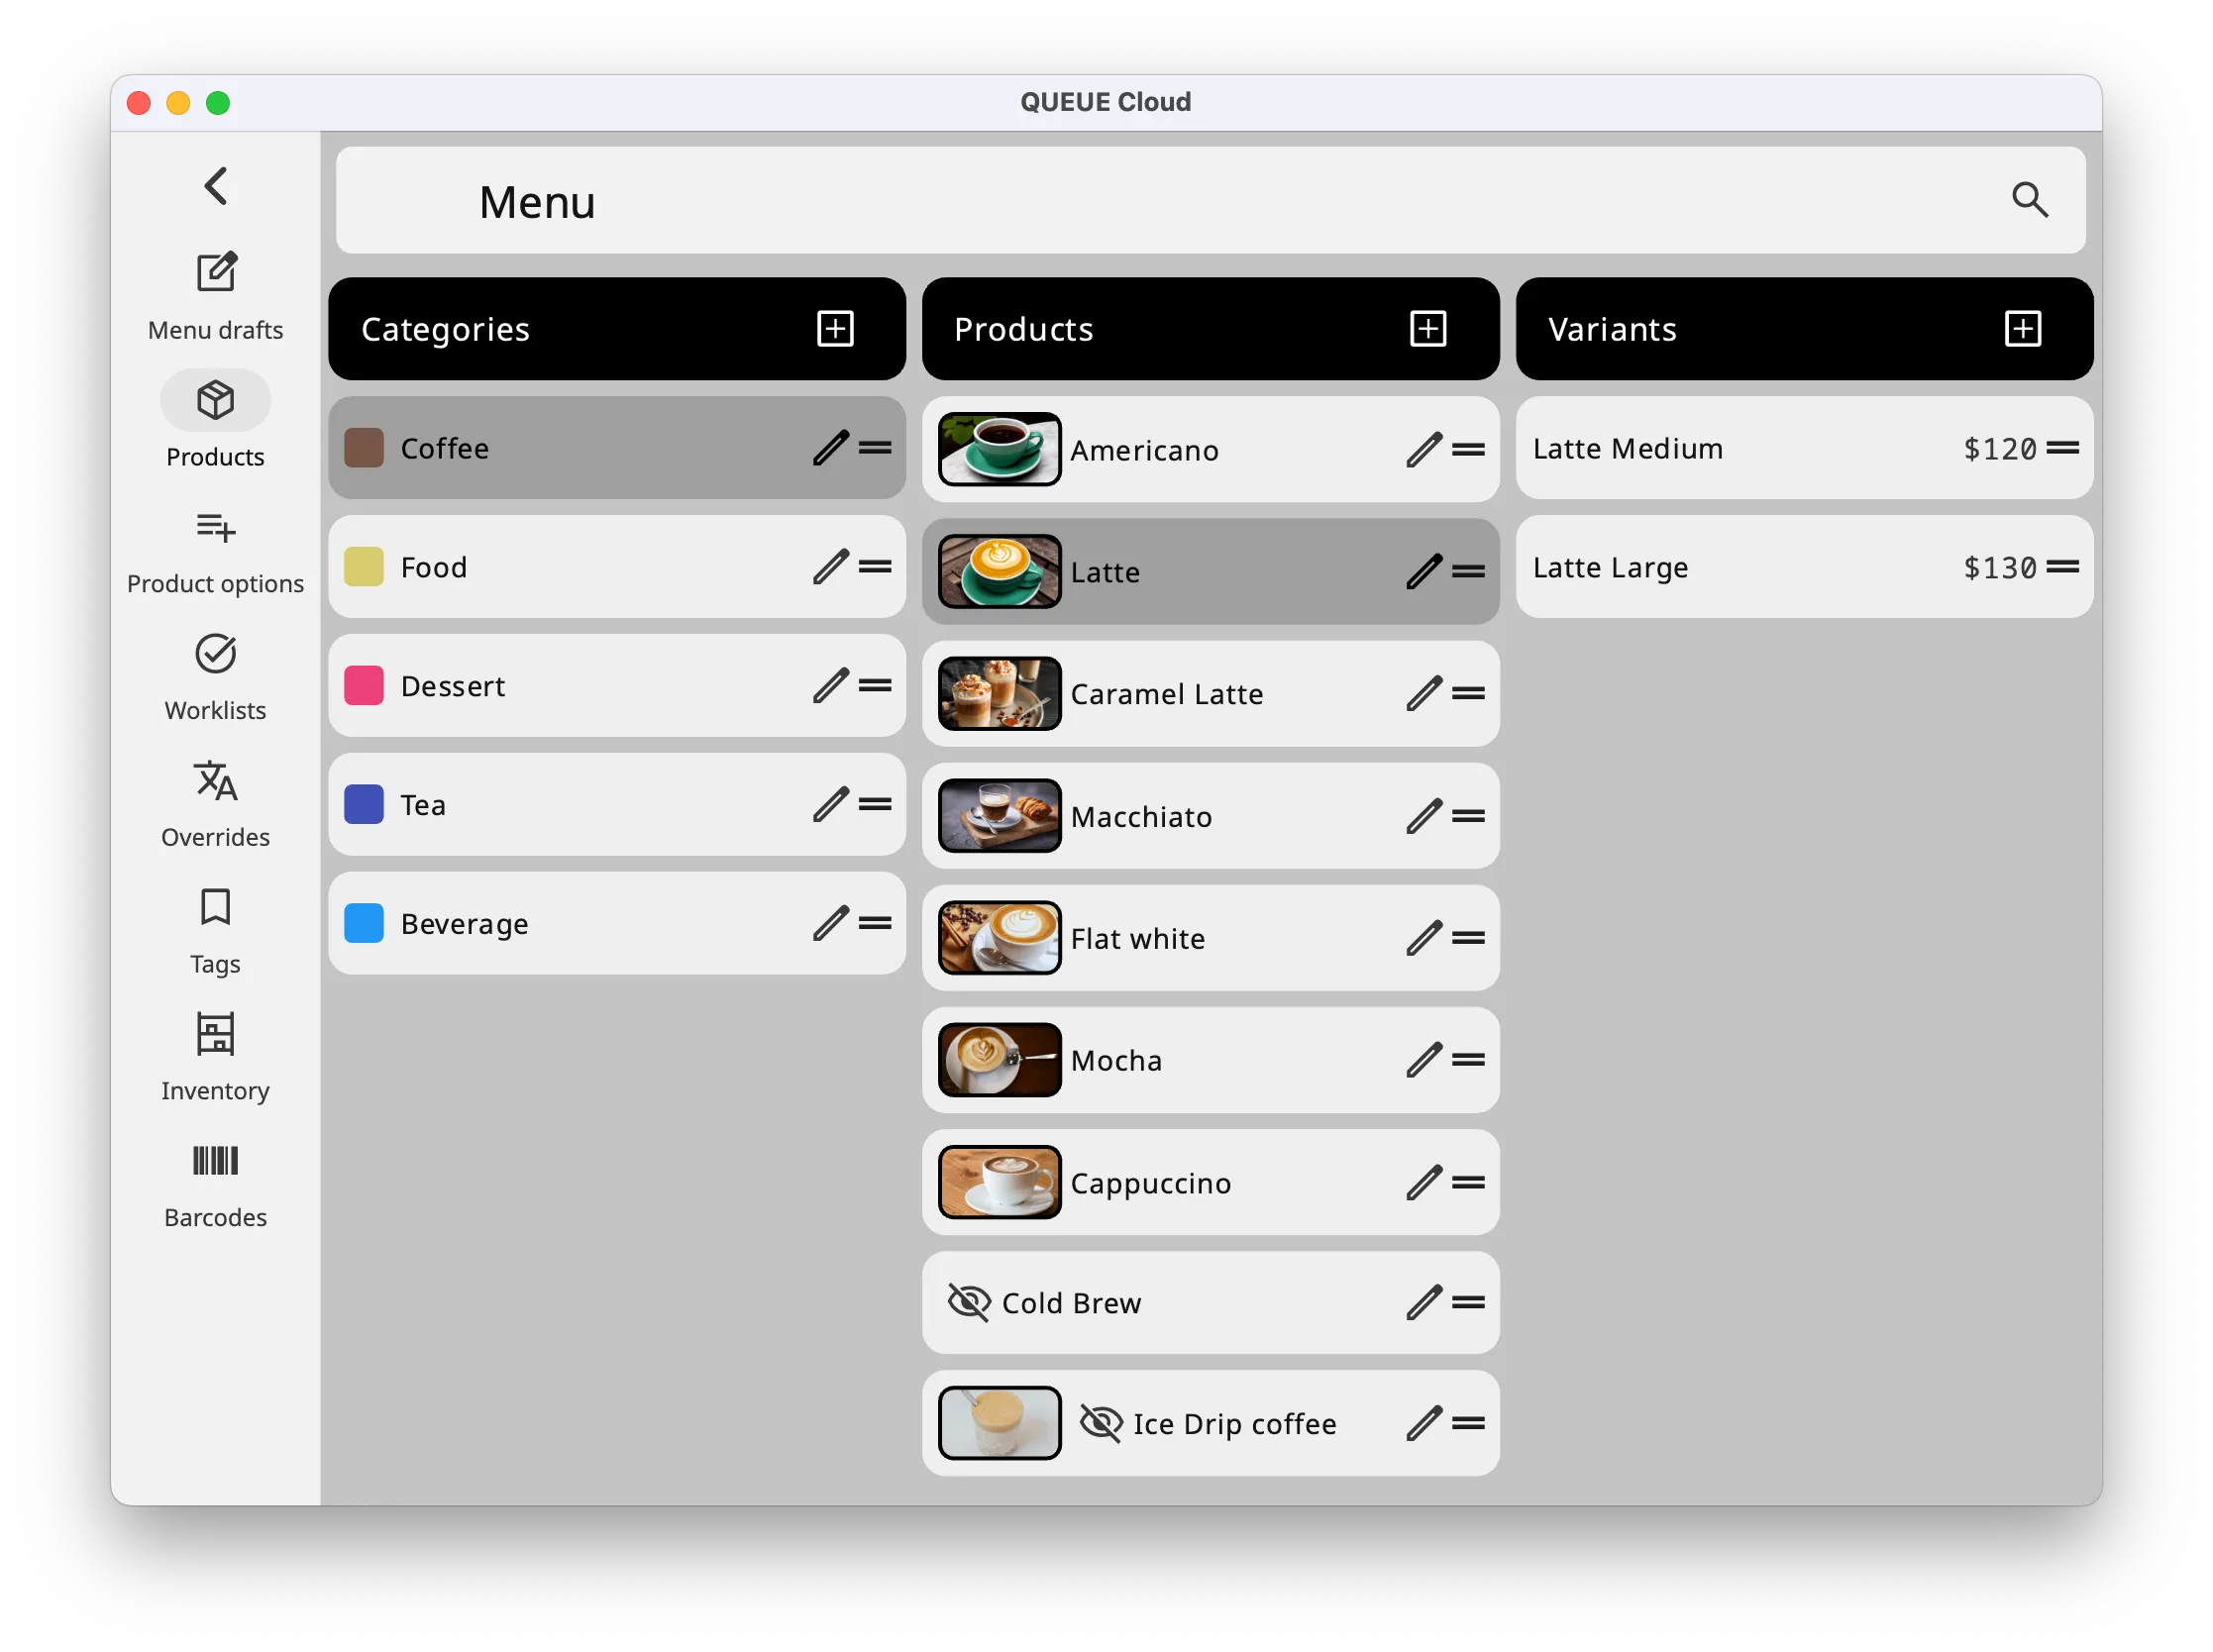
Grouping Your Items with Categories
Section titled “Grouping Your Items with Categories”Categories are like the thematic classifications for your menu, such as “Appetizers,” “Main Courses,” or “Drinks.” Categories help you group similar items together.
- Name: Give your category a clear and descriptive name, such as “Drinks.”
- Hide from POS: Temporarily hide a category from the ordering screen if needed.
- Product Options: Set product options that all products in this category will share (e.g., all drinks can have “Ice” or “Sweetness” customization options).
- Designate Worklist: Assign a default worklist (e.g., kitchen, bar) for items in this category if you use worklists, either printed tickets or worklist interface.
- Custom Color: Pick a color to make this category stand out.
Adding Products to Your Menu
Section titled “Adding Products to Your Menu”A product is a single item on your menu, such as a “Cheeseburger” or “Iced Coffee.” You can create products within each category, such as creating “Iced Coffee” under the “Drinks” category. When you create a product, the system automatically creates a variant for it, which represents the specific sellable item.
- Name: Displayed in the POS and external platforms unless overridden.
- Description: Write a short description that highlights what’s special about this item. This description is only displayed on external platforms.
- Hide from POS: Temporarily hide a product from the ordering screen if needed.
- Designate worklist: Choose a default worklist for items from this product.
- Automatically Show Options: If the product has options (like choosing a size or toppings), set them to pop up automatically when a customer orders.
- Product Options: Individually configure the product options for this product. This setting will override any product options set at the category level.
- Disable service charge: Exclude this products from the service charge calculation.
- Disable from worklist: This item will not be printed out on worklist tickets or shown in the Worklist interface.
- Disable from checklist: This item will not be printing on checklist tickets.
- Exclude from receipt: If enabled and the item total is zero, this item will not be shown on the receipt ticket.
- Custom color: Chose a custom color to make the product easier to identify at a glance.
- Custom image: Connect an image to this product. This can make it easier to identify the product in the interface, and it can be used as a source for external platforms and web ordering.
Existing products actions
Section titled “Existing products actions”Existing products has a handful of useful actions available
- Delete: Remove an item from the system - it can be restored later if needed.
- Copy: Create copy of this product including variants. After pressing Copy a ‘Destination category’ must be selected, where the new product is created.
- Move: Move a product from one category to a different category.
Variants
Section titled “Variants”Variants represent the actual, specific item for sale. They belong to a product and must have a price. A variant is tied to one product, but a product can have multiple variants. For example, the “Iced Coffee” product can have “Medium” and “Large” as variants.
- Name: An optional name used to differentiate between different variants of the same product (e.g., Large, Medium).
- Price Type: Can be either Fixed Price or Dynamic Price.
- Fixed Price: The product has a fixed price, suitable for most items.
- Dynamic Price: The price is manually entered during ordering, suitable for items sold by weight or market price items.
- Price: The base price of this variant. Must be provided, but can be zero.
- Hide from POS: Make this particular variant unavailable for ordering through the POS system.
- Product options: Decide what options should be available for this variant. This this override any category or product product option settings.
- Exclude from worklist: The variant will not appear on digital or printed worklists.
- Disable price modifier: Don’t allow changes to variant base price.
- Exclude from discount: The variant will not be included when calculating order level percentage discount amounts.
- Exclude from Ocard points: This variant will not be included in Ocard point accumulation calculations.
- Reporting tags: Select a reporting tag to categorize its sales for reporting purposes.
- Internal product code: Specify a code that can be used when generating reports
- Add barcode: Add one or more barcode strings connected with this variant. When a corresponding barcode is scanned this variant is automatically added to the cart.
- Variant type: Set the variant type as a single item or a combo. If it’s a combo, refer to Building Combos
- Enable Inventory: Configure inventory containers details.
Building Combos
Section titled “Building Combos”Combos are special groupings of items you can offer at a discounted price or with specific options. Think of them as creating your own “set meals.”
1. Set variant type to Combo: Click on the variant you want to set as a combo, find the Type field, and select Combo from the dropdown menu.
2. Combo settings: Enter the combo settings.
- Designate all items to parent item worklist: Send all combo items to the same worklist as the parent item.
- Inherit service charge from parent item: Apply the parent item’s service charge rules to all combo items.
3. Add Combo Groups: You can add multiple combo groups for each combo, and each group will contain its own options. For example, when setting up a “Ribeye Steak Combo,” you can add groups for “Appetizer,” “Soup,” and “Dessert.” Each group will contain variants for customers to choose from.
- Click Add combo group.
- Name: Name this combo group (e.g., “Appetizer”).
- Automatically add items: When enabled, all options in this group will be automatically added when the combo is selected.
- Minimum/Maximum quantity: Set rules to limit the number of items that can be chosen from this group (e.g., if the “Appetizer” is a “choose one of three” required option, set “Minimum” to 1 and “Maximum” to 1).
- Select included variants: Select the options from your menu to be included in this group (e.g., the three appetizer options).
- Edit Each Variant: Click the pen icon to configure details, such as whether this variant allows multiple for quantity selection or if there’s an additional price modifier.
- Click Confirm to temporarily save this group’s settings.
- Continue to add other combo groups as needed, such as “Soup” and “Dessert.”
- Finally, remember to click Save to complete the entire combo setup.